I have had so much fun making things from tutorials found on blogs of some of the most creative people. Check out some very user friendly ones at Dog Under My Desk. Erin has some great tips and a page all about interfacing that I linked below. She also has fantastic patterns.
Here is my first attempt at a tutorial.
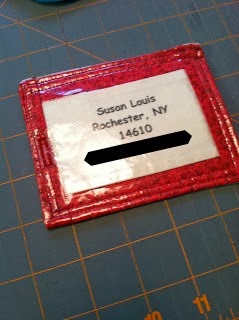
A very easy luggage tag.
I used scraps of things I had and bought the little buckle straps at a local craft shop. They were meant to be bracelets but this is so much better. The personal info has been blocked out for instruction photos only.
I bought some June Taylor computer printer fabric.
I actually printed out 6 on a page.
Once you cut them up you can't put it back in the printer so plan ahead.
Be sure to peel the paper off the back once you print.
I have 2 different methods shown below.
They both come out the same size about 3 1/2" x 4 1/2"
You will also need the following:
Scraps of theme fabric
Method 1 - 1 piece 4" x 5"
and 4 - 1 1/2 inch strips x 8"
Method 2 - 2 pieces 4" x 5"
And your printed computer fabric
I cut this piece 2 3/4" x 4"
Method 1:
Cut 1 1/2" strips and add them around the address piece.
Then trim the piece down to 4" x 5"
Method 2:
Cut the address piece a bit smaller, place on top of a your theme fabric piece 4" x 5". Blanket stitch around the edges.
From here on the directions are the same.
Next take the piece of Slicker and following the instructions stick the sticky side down over the front address piece. ALWAYS use the paper you peeled off between the iron and the vinyl.
Next with right sides together sew the slicker front to the theme back piece on 3 sides leaving one end open like an envelope.
NOTE: Pins will leave a mark in the slicker.
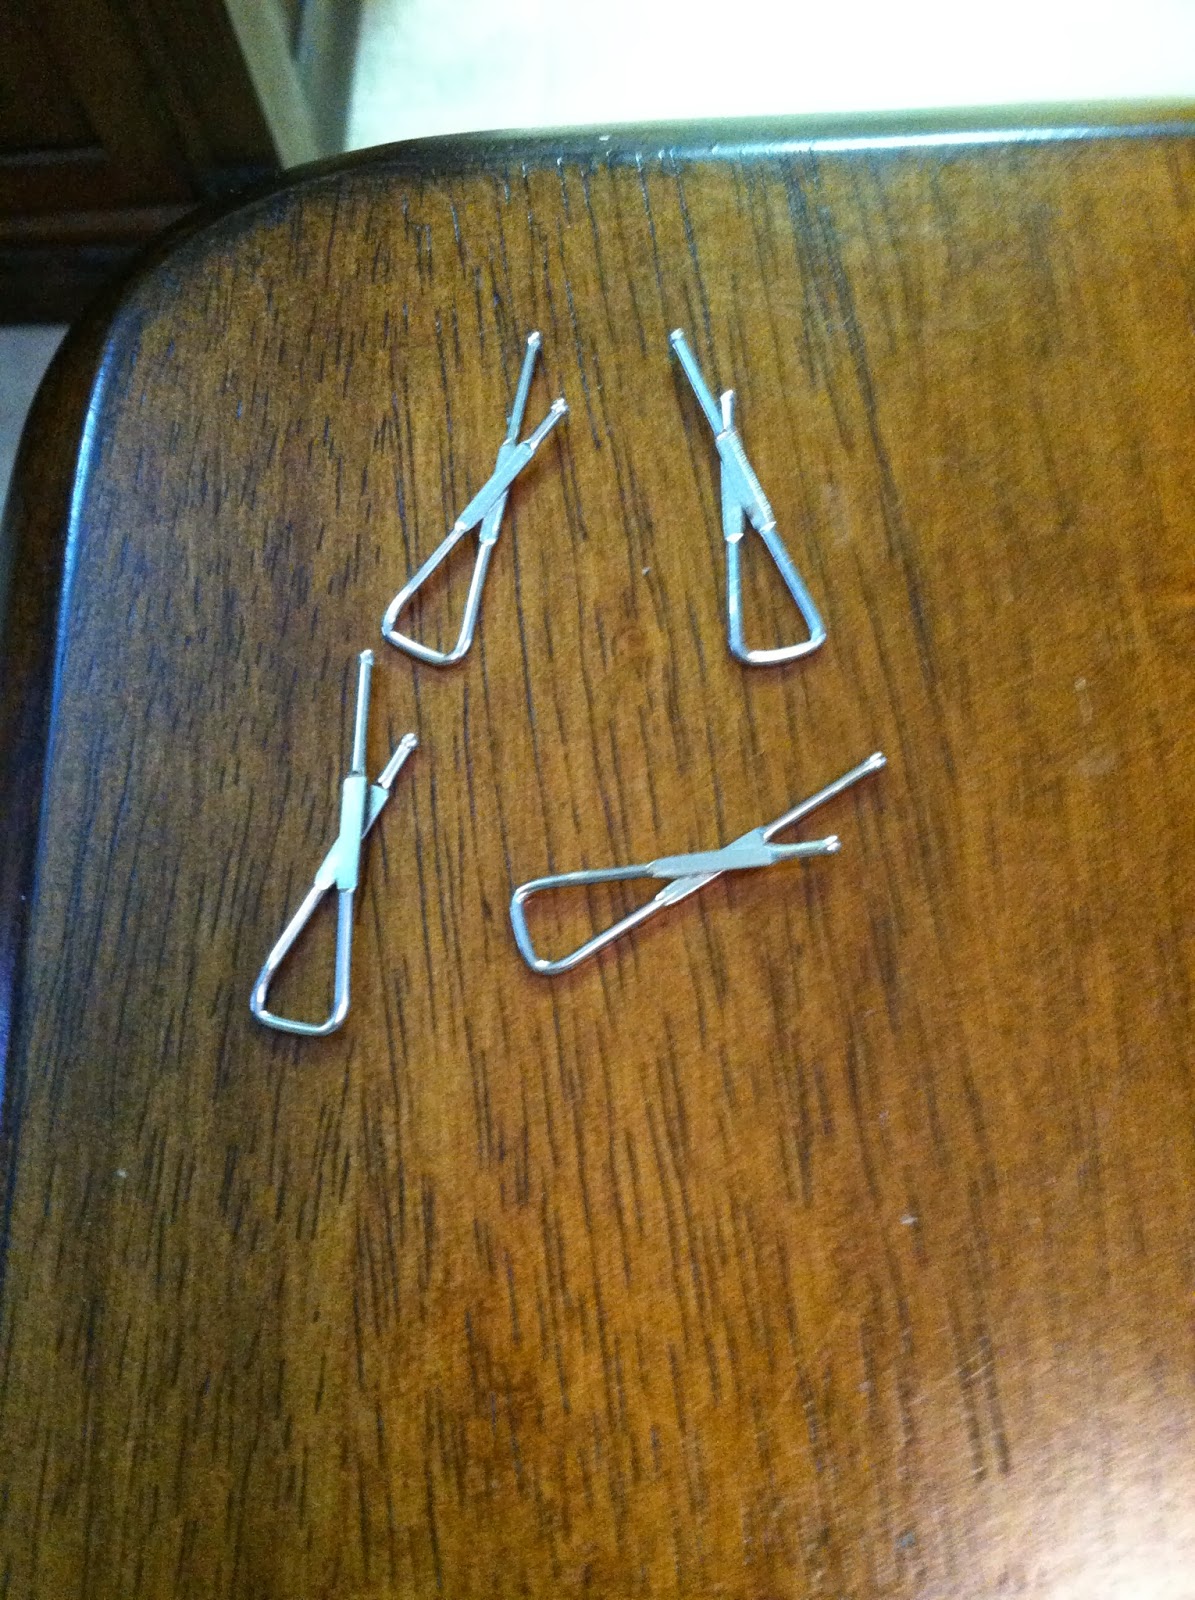
I used my binding clips since the Slicker makes it very slippery.
Have you seen these??
A friend at work brought them in. They were used to "pin" her husbands new dress shirt. They are like paper clips and won't leave a mark either.
Once the three sides are sewn, trim the two corners and carefully turn the tag right side out.
Cut down the Peltex so it slides easily inside the envelope you have just made.
Turn under the open end and carefully press using your paper.
Topstitch very close to the edge and again 1/4" away on all 4 edges.
A quick button hole at one end and your tag is complete !!
I used this great find at my local craft store but a ribbon or hair elastic would work just as well.
My sister and family are going to Disney this month.
The theme prints make it so much fun !!


.jpg)


.jpg)


.jpg)
.jpg)